You are at increased risk when setting out signing, lighting and guarding, so great care is needed to ensure that you can see the traffic and the traffic can see you. Put your high visibility clothing on before leaving the vehicle.
On arrival, or at any stop to set out signs, you must park your vehicle safely before you unload or set up signs, lights and barriers. Where possible the vehicle should be parked off the road in a position that does not obstruct a footway or cycle route. If you cannot park off the road, the vehicle must be clearly visible to other road users. Turn on your roof-mounted amber beacon(s) if you have them, and aim to ensure that any high visibility markings on the vehicle are facing on-coming traffic. It will be safer to get out of the vehicle on the passenger side, rather than stepping into the traffic stream.
When the ‘Road works ahead’ sign is more than 440 yards (1/4 mile) from the works, or when extra advance signs are needed because visibility is limited, set up the initial and then the additional advance signs you need before moving on to the works site and setting out the rest of the layout. Face the traffic when you set out signs and take particular care when crossing the road to place them.
When setting out the works, face oncoming traffic and take particular care when crossing the road to place signs. You must not be distracted by mobile phones (including hands-free phones), radios, or other devices during this operation.
Follow the sequence below:
-
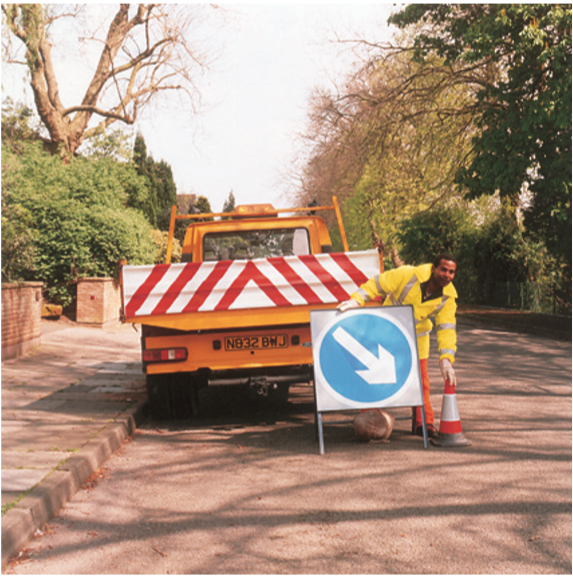
You must park your vehicle safely. You can park off the road in a position that does not obstruct a footway or cycle route. If you park in the road, you must protect it from traffic going past. Set up a ‘Keep right’ sign at the outside corner of the vehicle, along with a traffic cone.
-
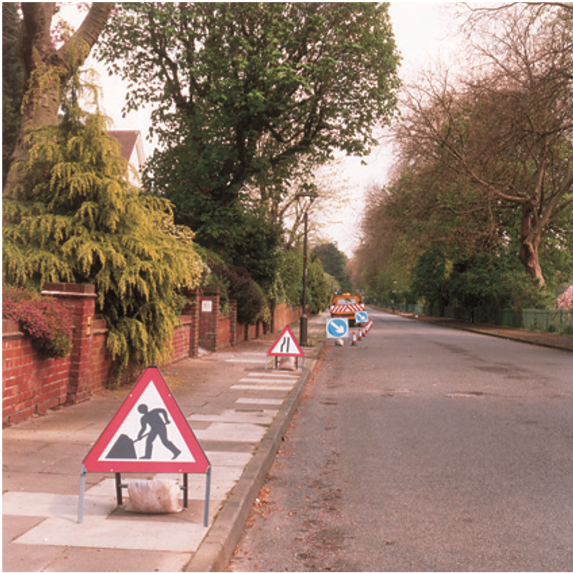
Set out the ‘Road works ahead’ sign. Measure or pace out the appropriate distance (D) from the point where your lead-in taper will begin. Then put one sign on the left-hand side (viewed from the perspective of traffic facing the sign) and another on the right-hand side of the road if your risk assessment deems it necessary. (Consult the table in the Setting out site section of this code for the appropriate distance D for different sites).

-
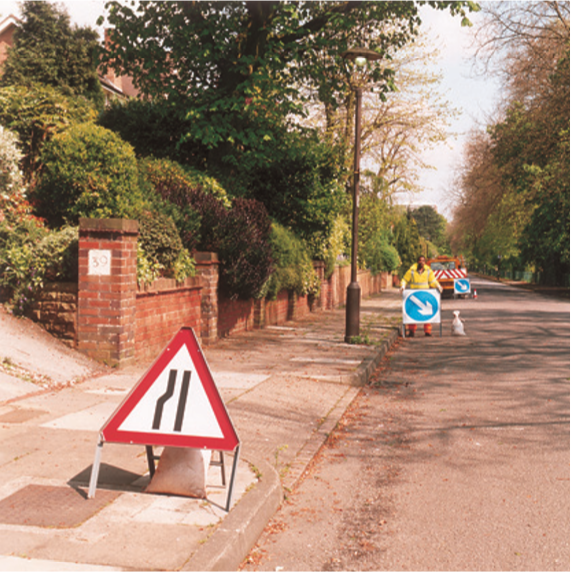
Using the appropriate diagrams in this Code to help you, work back towards the site, placing more signs as necessary. Keep on the verge or footway if you can. If you are on a two-way road, repeat this procedure and place signs for traffic going in the opposite direction, then cone off the works.
-
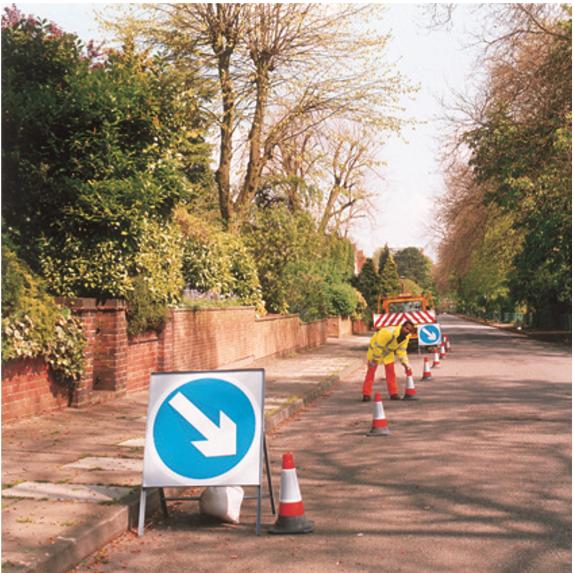
Always face the oncoming traffic when you set out the cones for the lead-in taper. Start from the kerb or road edge, working out towards the works. Complete the coning around the works, leaving enough room for working space and safety zones.
-
Use cones, ‘Keep right’ signs, barriers and road warning lights, and an information board to complete the warning, guidance and protection for the works.
-
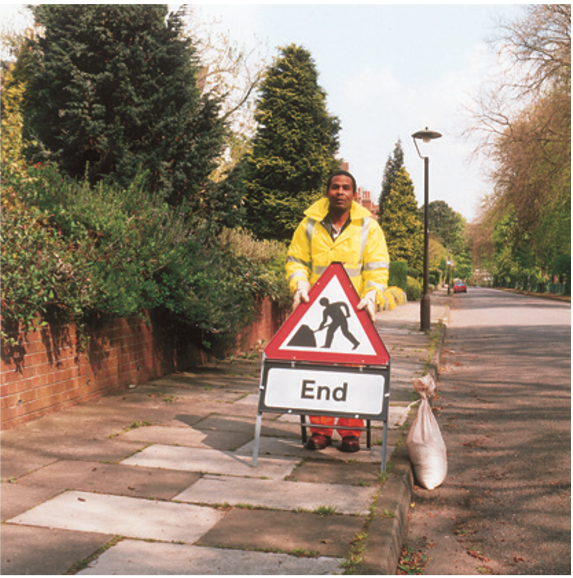
Where appropriate, set up an ‘End of road works’ sign.
When you need to remove the signs, reverse the procedure shown here, but remove the ‘End of road works’ sign second to last and the ‘Road works ahead’ sign last of all.
